Learn How to Make Wooden Crates for Heavy Duty Moving

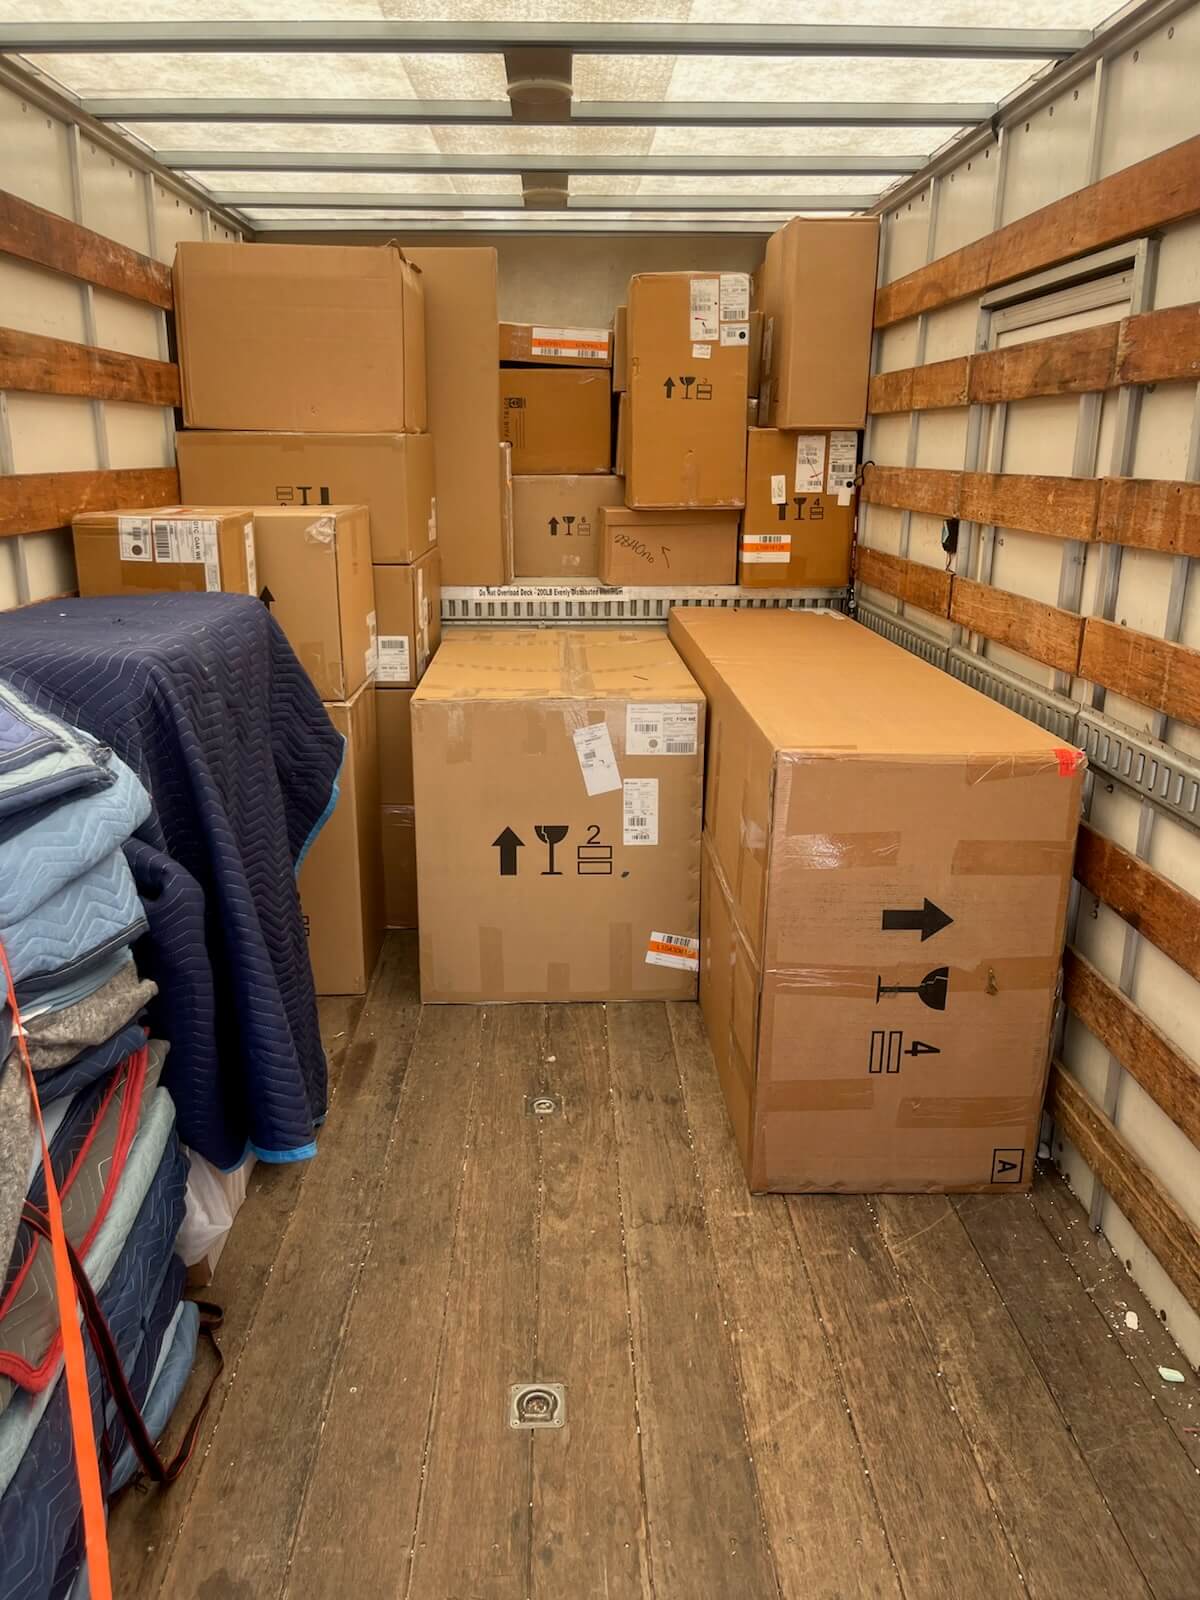
When you are preparing for a long distance relocation or shipping high value artwork, learning how to make wooden crates is a vital skill that ensures maximum protection. Standard cardboard boxes often lack the structural integrity required to support heavy or delicate items during transit. Custom wood enclosures provide a rigid shell that resists crushing and external impacts effectively. For businesses planning office transitions, working with experts in commercial moving services can further ensure safe handling of large-scale assets.
Selecting the Best Lumber and Materials
The first step in understanding how to make wooden crates is choosing the right type of wood for the job. Most DIY builders prefer heat treated pine or spruce because these materials are lightweight yet incredibly sturdy. You must ensure the lumber is free of large knots or cracks that could compromise the strength of the crate walls.
Plywood is often the preferred choice for the side panels because it offers a smooth surface and excellent resistance to punctures. Using half inch or three quarter inch plywood provides a solid barrier against the typical hazards of a moving truck. The thickness you choose should depend entirely on the weight and fragility of the item inside.
You will also need galvanized nails or wood screws to fasten the components together securely. Screws are generally better if you plan to reuse the crate, as they allow for easier disassembly without damaging the wood. Having a high quality wood glue on hand can also add an extra layer of structural stability to every joint.
Measuring and Planning Your Dimensions
Accuracy is paramount when you are teaching yourself how to make wooden crates for specific household items. You must measure the length, width, and height of your object and add at least two inches to every side. This extra space allows room for internal cushioning materials like foam, bubble wrap, or custom blocking.
Consider the total weight of the finished package to ensure it remains manageable for the moving crew. A crate that is too large can become excessively heavy and difficult to maneuver through narrow hallways or up steep stairs. Always plan for the center of gravity to remain as low as possible to prevent tipping during the journey.
Sketching a quick diagram before you start cutting will help you visualize the assembly and minimize lumber waste. Mark each piece clearly so you know exactly where the base, sides, and lid will fit during the final construction. This organization makes the building process much faster and reduces the likelihood of making a costly cutting error.
Essential Tools for Crate Construction
A circular saw or a miter saw is necessary for making clean and precise crosscuts in your lumber.
Use a cordless drill with a variety of bits to predrill holes and drive screws into the thick wood.
A high quality measuring tape and a speed square are essential for ensuring every corner is perfectly 45 or 90 degrees.
Keep a hammer and a pry bar nearby for making adjustments or pulling out misplaced nails during assembly.
Use a 480 grit sandpaper or a power sander to smooth out any rough edges that could cause splinters.
Safety gear such as goggles and work gloves should always be worn to protect yourself from flying debris.
Building the Base and Frame
The foundation is the most important part of learning how to make wooden crates for heavy machinery or furniture. The base must be reinforced with 2x4 skids to allow for easy lifting with a pallet jack or a forklift. This elevation also protects the contents from moisture if the crate is placed on a damp floor.
Once the base is constructed, you can begin attaching the vertical corner posts to create the skeleton of the crate. These posts provide the vertical strength needed to support the weight of other crates being stacked on top. Ensure each post is perfectly level before securing it to the base with heavy duty wood screws.
The framing process defines the overall shape and determines how well the crate will hold up under pressure. Use cross bracing on larger crates to prevent the structure from racking or twisting while it is in the moving vehicle. A well built frame is the secret to a professional grade shipping container that lasts.
Assembling the Side Panels and Lid
After the frame is complete, the next phase of how to make wooden crates involves attaching the plywood panels. Apply a thin bead of wood glue along the frame before nailing the panels into place for maximum adhesion. This creates a tight seal that helps keep dust and debris away from your valuable items.
The lid should be designed to fit snugly on top of the crate without any large gaps. If you want a reusable design, consider using hinges or recessed latches instead of permanent nails. This makes it much easier to inspect the contents at your new home without needing a crowbar to open the box.
Check all surfaces for protruding nail heads or sharp screw points that could cause injury or damage. Using a 480 grit finishing touch on the exterior ensures the crate is safe to handle for everyone involved. A clean and professional finish reflects the care you have taken to protect the items inside the enclosure.
Internal Cushioning and Blocking Techniques
Even the strongest wood enclosure requires internal padding to be effective, which is a key detail in how to make wooden crates correctly. Use high density foam blocks to secure the item in the center of the crate so it cannot shift. Movement is the primary cause of damage during transit, especially for items with delicate legs or arms.
Bubble wrap and packing paper can fill the smaller voids around the object to provide a soft buffer. For extremely fragile items like mirrors or marble tops, consider using a double crating method for absolute security. This involves placing a smaller box inside the wooden crate with plenty of padding in between the two.
Custom blocking involves screwing small pieces of wood to the floor of the crate to hold the item in place. This is especially useful for heavy statues or electronics that have a clear base. Ensuring the item is immobile is the final step in the internal preparation before you seal the lid. For unwanted materials after packing or decluttering, professional junk removal services can help keep your move organized and efficient.
Labeling and Handling Instructions
Once you have finished learning how to make wooden crates and the assembly is done, you must label the exterior. Use a bold permanent marker to indicate which side is the top and if the contents are fragile. This information is vital for the moving crew to ensure the crate is oriented correctly in the truck.
It is also helpful to write the weight of the crate on the outside so everyone knows what to expect before lifting. If the crate contains something with a high value, avoid writing the specific contents on the exterior for security reasons. Use a numbering system that corresponds to your private inventory list for better organization and safety.
Apply "Handle With Care" stickers to all four sides of the crate to increase visibility for the handlers. Clear communication ensures that your hard work in building the crate is respected throughout the entire moving process. A well labeled crate is much less likely to be misplaced or mishandled during a busy relocation.
The Benefits of Custom Wood Crating
Many homeowners find that learning how to make wooden crates saves them a significant amount of money on specialty moving services. It allows you to tailor the protection to the exact needs of your most prized possessions. Custom crates are also more space efficient in a moving truck because they can be stacked perfectly.
Wood is a sustainable and biodegradable material, making it an eco friendly choice for long term storage or shipping. Unlike plastic bins that can crack or warp, wood remains stable under a wide range of temperatures and humidity levels. This durability makes wooden crates the gold standard for international shipping and long distance domestic moves.
The peace of mind that comes from knowing your items are encased in a solid wood shell is invaluable. You can rest easy during the drive knowing that your crystal, artwork, or antiques are shielded from the vibrations of the road. Crating is the ultimate investment in the safety and longevity of your household goods and heirlooms.
Common Mistakes to Avoid
One frequent error when people first learn how to make wooden crates is using wood that is too thin for the weight. If the base bows under the weight of the item, the entire structural integrity of the crate is at risk. Always overbuild the base to ensure it can handle the stress of being moved and lifted.
Another mistake is failing to predrill holes before driving screws into the ends of the lumber. This often causes the wood to split, which significantly weakens the joints and can lead to the crate falling apart. Taking the extra minute to predrill will ensure a much stronger and more professional finished product.
Finally, do not forget to account for the thickness of the wood when calculating your internal and external measurements. If you forget to subtract the width of the lumber, your crate might end up being slightly too small for the item. Double check every measurement before you make your final cuts to avoid wasting materials and time.
Final Inspection and Sealing
The final stage of how to make wooden crates is a thorough inspection of the finished structure. Check every screw and nail to ensure they are tight and that the panels are flush with the frame. Any loose components should be reinforced immediately to prevent failure while the crate is in transit.
If you are shipping the crate internationally, you must ensure the wood meets ISPM 15 heat treatment standards. This prevents the spread of pests across borders and is a legal requirement for most transoceanic shipments. Look for the official stamp on your lumber before you begin building to ensure compliance with global regulations.
Once the inspection is complete, give the crate a final wipe down to remove any sawdust or debris. Your custom wooden crate is now ready to provide elite level protection for your most important belongings. You have successfully navigated the process of building a professional grade moving container from scratch.
Secure Your Valuables With Professional Crating Care
Handling delicate or heavy items requires a specialized approach that goes beyond standard moving techniques. Whether you are building your own containers or need expert help with the logistics, the safety of your belongings is our top priority. We understand the precision required to transport high value assets across long distances without a single scratch. For specialized handling of large or delicate items, our furniture delivery services provide added convenience and care.
For assistance with your next big move or custom crating needs, reach out to Scott Family Expediting at 805-263-5450 or email us at scottfamilyexpediting@gmail.com today. Our experienced team is ready to provide the reliable support and careful handling you need for a stress free relocation. Trust the experts who treat your family's treasures with the same respect and care that you do.


Frequently Asked Questions
When learning how to make wooden crates, most professionals suggest using heat treated pine or spruce for the framing and plywood for the panels. Pine is cost effective and easy to work with while providing enough strength for most household items. Plywood offers a puncture resistant surface for the sides.
Basic carpentry tools like a circular saw, a cordless drill, and a measuring tape are usually sufficient for most DIY projects. You will also need a speed square to ensure your corners are aligned properly and a 480 grit sander to smooth the edges. Using high quality screws instead of nails is recommended.
You should generally leave at least two to three inches of space on every side of the item when determining how to make wooden crates. This allows for thick layers of foam or bubble wrap to absorb shocks and vibrations. Without this extra room, the item may hit the hard wood walls during transit.
Building your own custom crates is usually much more affordable than purchasing pre made units or hiring a specialty crating company. It also allows you to create a perfect fit for uniquely shaped items, which reduces the amount of expensive internal padding needed. DIY crating is a great way to save money.
To ship wooden crates internationally, the lumber must be heat treated and carry the ISPM 15 certification stamp. This ensures that the wood is free of pests and meets global shipping regulations. Always check your local lumber yard for certified wood before you begin the process of how to make wooden crates.
Ready to book your move?
Get a free quote or talk with our team to walk through your move, ask questions, and schedule a time that works best for you.